CONVENTIONS
QuickTIPs (and Links) are highlighted in blue.
Permission-based items are highlighted in red.
System navigation is italicized.
THE CLIENT INTERFACE
Because CurrentTrack® is web-based, you have the ability to extend its benefits to those outside your agency’s four walls — Clients and Vendors.
By granting your Clients access to a portion of CurrentTrack — the Client Interface — you can have them view artwork, hear radio spots and review strategies through their web browsers. By facilitating the approval process with the client, and enabling them to provide feedback on whatever you’ve posted, you reduce turnaround time and save money.
In addition, posted work can be made available to media outlets and printing Vendors, as well as your Employees. CurrentTrack makes it easy for you to share important information with those who need it, in a timely manner.
POSTING MATERIALS
Materials may be posted to the Client Interface in one of three ways:
1. Via the ![]() at the top of the screen; see Upload Attachment
at the top of the screen; see Upload Attachment
2. Via a document
3. Via a job’s Attachments Folder
SHARING A DOCUMENT WITH CLIENTS
If you’d like to share a document with a Client (e.g. a Change Order), at the bottom of its Create (or Edit) screen, indicate the specific Client Viewable User(s). If e-mail addresses have been associated with selected User(s), they’ll appear in the Notify Client by E-mail field once a specific User(s) is indicated. To alert internal Employees via their Message box, simply add their names to the cc: field. External contacts will receive an e-mail that reads:
“The document ‘[Subject]’ has been posted by [Employee] for your review. To view it, please click on the following link and enter the Agency, User name, and Password supplied to you by your agency representative.
[Link]
To provide comments regarding the document, click its corresponding Add Comment link. Should you need further assistance, please contact your agency representative.”
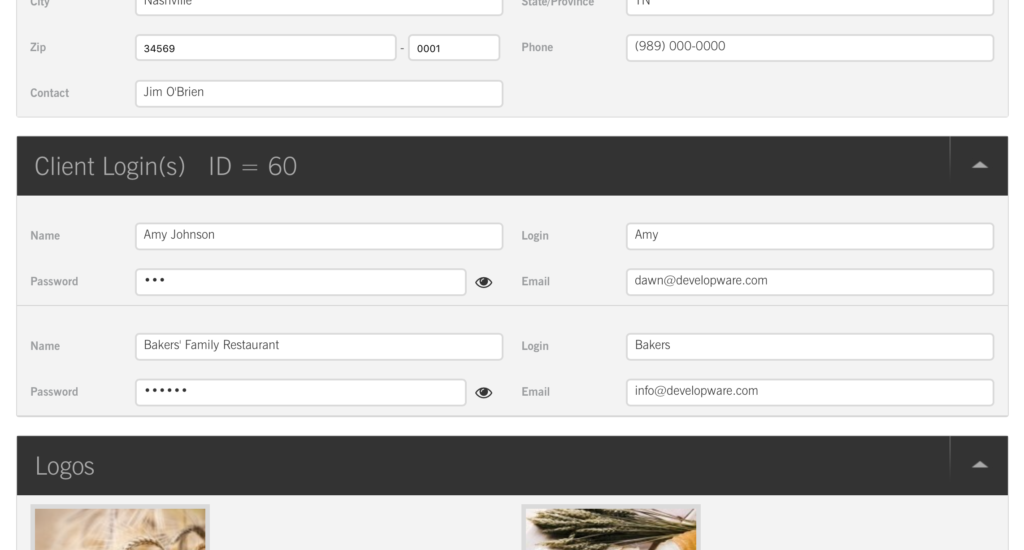
Clients will be directed to the Client Interface where they can sign in using your Agency name and the User name and Password you’ve assigned within their Client Spec Sheet.
They’ll also need to check the box beside Client and enter their corresponding ID number. This number can be found within the Client Spec Sheet.
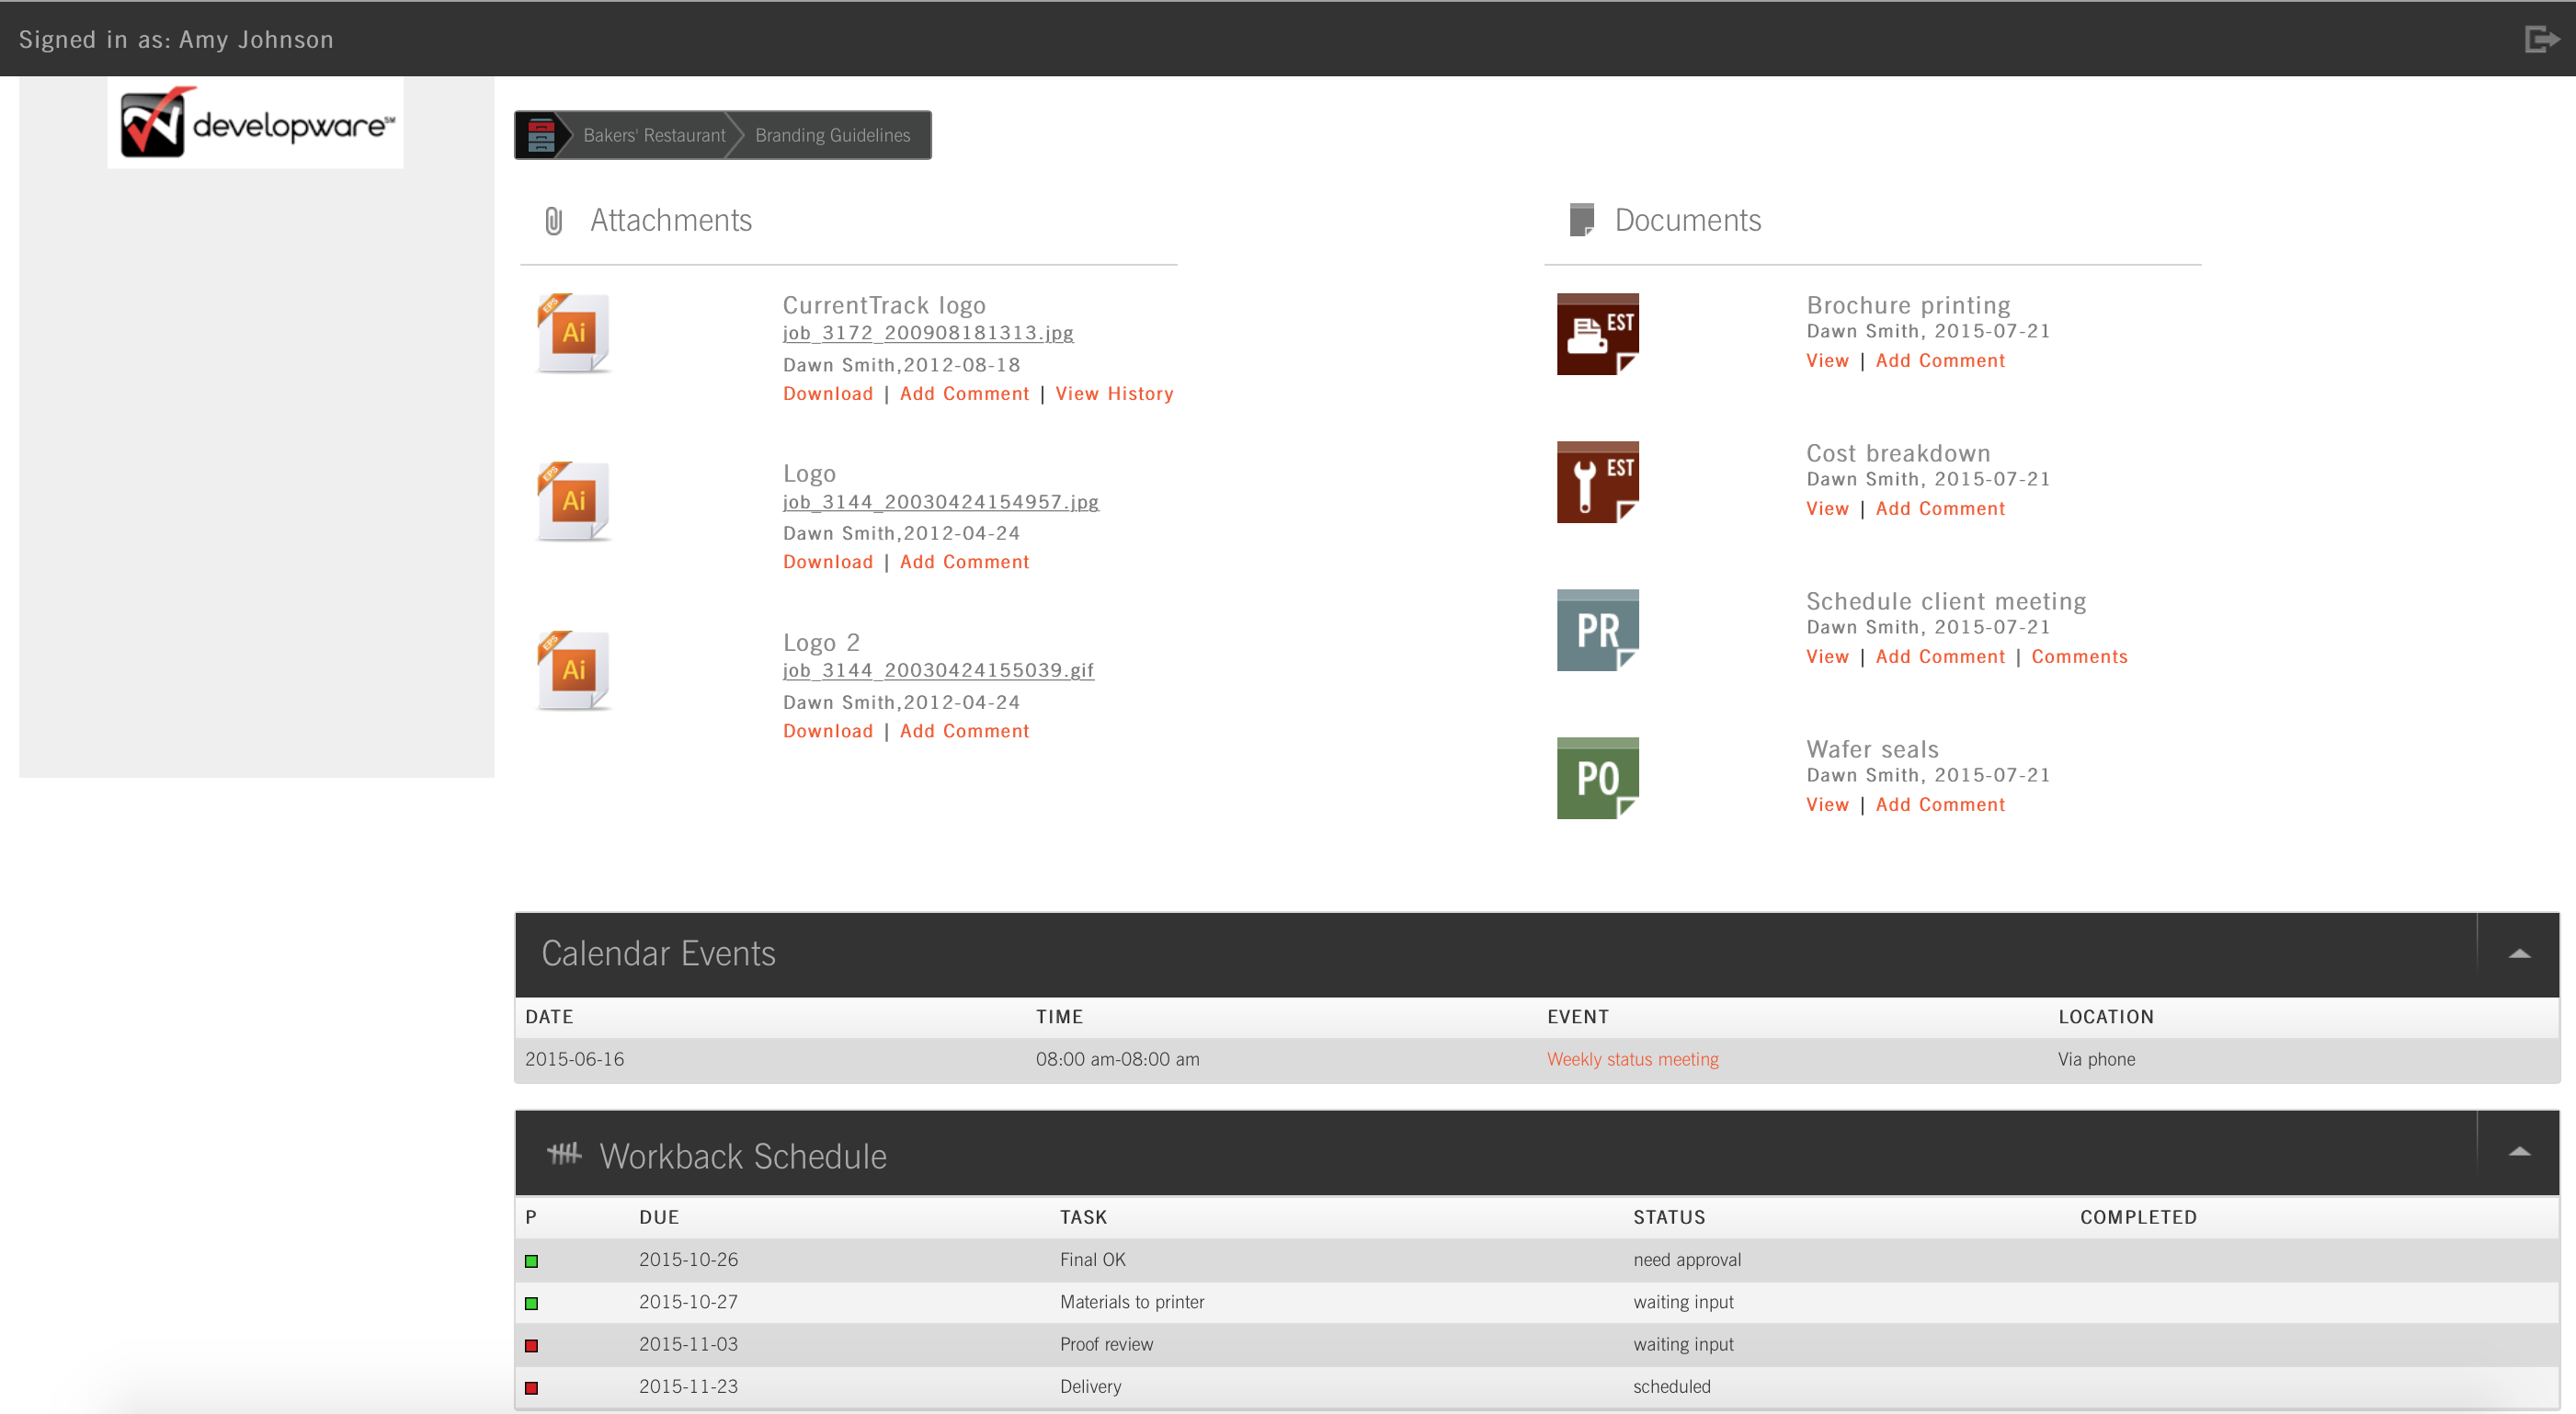
Clients can return comments via the Add Comment links beneath both Attachments and posted documents. Comments are automatically sent to the CurrentTrack Messages box of the Account Executive and Coordinator specified in the Client’s Spec Sheet, as well as Employees listed in the Default and Client-specific Notifications areas. A copy of the Comments are also saved in the [job] Documents Folder, beneath its parent document, and is viewable by everyone in your agency.
SHARING A DOCUMENT WITH VENDORS
If you’d like to share a document with a Vendor (e.g. a Purchase Order), check the appropriate box beside Viewable, at the bottom of the form. Click the pop-up box to the right of the Vendor User(s) field. The Vendor Address Book will appear. Simply click the appropriate name(s) and close the box. Next, check the box beside Notify Vendor by E-mail. If addresses have been associated with the selected Vendor User(s), they’ll appear in the box. Manually enter (or remove) addresses, separated by commas. To alert internal Employees via their Message box, simply add their names to the cc: field. External contacts will receive an e-mail that reads:
“The document ‘[Subject]’ has been posted by [Employee] for your review. To view it, please click on the following link and enter the Agency, User name, and Password supplied to you by your agency representative.
[Link]
To provide comments regarding the document, click its corresponding Add Comment link. Should you need further assistance, please contact your agency representative.”
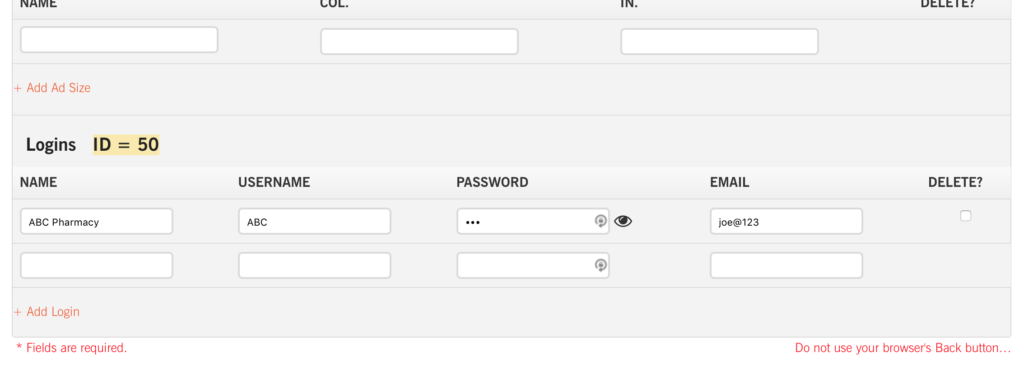
Vendors will be directed to the Client Interface where they can sign in using your Agency name and the User name and Password you’ve assigned them within the Vendor Address Book.

They’ll also need to check the box beside Vendor and enter their corresponding ID number. This number can be found within their Vendor Address Book profile.
Vendors can return feedback via the Add Comment link located beneath each posted document. Feedback is automatically sent to the CurrentTrack Messages box of the Account Executive(s) and Coordinator(s) specified in the Client’s Spec Sheet as well as to Employees listed in the Notifications areas. A copy of the Feedback is saved in the [job] Documents Folder, beneath its parent document, and is viewable by everyone in your agency.
THE [JOB] ATTACHMENTS FOLDER
To post work via a Job’s Attachments Folder, simply go to Clients & Jobs — Client — Job One Sheet — I Want To: Open Attachments Folder — Upload Attachment.

This leads you to a page where you can browse through your hard drive or network and highlight the File to be posted. Files can be of any format and size. Larger files may take slightly longer to upload, depending on your browser.
TIP: In order for a .jpg image to appear in your browser, it must be saved as an RGB, not CMYK, file.
You can also give the file you’re uploading a descriptive Name (it shouldn’t contain spaces or slashes), associate Keywords with it and enter Comments. The Keywords (e.g. BOGO, final artwork, full-page, etc.) can later be referenced in the Attachments Search portion of the Advanced Search feature. The Comments associated with the file will be viewable to other Employees, Clients and Vendors (if applicable).
TIP: Avoid including unnecessary punctuation (e.g. backslashes, quotes, extra spaces, etc.) in the names of files you’re uploading.
You’ll need to specify whether the file you’re uploading should be made viewable to a Client User(s), a Vendor User(s), or both via the drop-down menus provided. If e-mail addresses have been associated with selected User(s), they’ll appear in the Notify Client by E-mail field. To alert internal Employees via their Message box, simply add their names to the cc: field. External contacts will receive an e-mail that reads:
“A file has been posted for your review. To view it, please click on the following link and enter the Agency, User Name and Password supplied to you by your agency representative.
Attachment File Uploaded: [Name appears here]
http://currenttrack.com
To provide Feedback regarding the file, click its corresponding Feedback link. To view Comments associated with the file, click on the small box containing an arrow located to its far right. Should you need further assistance downloading a file, or providing Feedback, please contact your agency representative.”
Materials will always be viewable to your Employees. To alert them of a file posting, simply add their names to the CC: field. After you’ve pressed Submit, the file will appear in the appropriate place and notification, if applicable, will be sent.
MOVING A FILE
Should you happen to upload a file to the wrong Job Number, don’t worry. It can easily be moved.
To move an Attachment, go to Clients & Jobs — Client — Job One Sheet — I Want To: Open Attachments Folder.

Click Move beside the appropriate file. On the following screen, select the Job Number to which you’d like the file moved; click Submit.
DELETING A FILE
To delete an Attachment, go to Clients & Jobs — Client — Job One Sheet — I Want To: Open Attachments Folder.
Click the Delete link, to the left of the file. At the, “Are you certain that you want to delete this Attachment?” prompt, click OK. Make sure you have another copy of the file in-house before deleting it from within CurrentTrack.
TIP: Before archiving a job, replace the original hi-res file(s) with a lo-res version(s).
You should also periodically search for files that may have been overlooked along the way. The easiest way to determine which files you’ve uploaded, and to delete them in bulk, is to go to Admin — Agency Administration — Manage Attachment Files. Enter the desired search criteria and click Submit.
On the results screen, check the box(es) beside the file(s) you want to delete. Scroll to the bottom of the page and click Delete.


SCENARIO
I have a Client that needs to access attachment files across several Active Client Folders. I don’t want her to have to log in under each respective Client, using a different User Name and Password each time. What do you recommend?
First, add the Client (e.g. Mary Smith) as a Vendor by going to Address Books — I Want To: View Vendor Address Book — Add Vendor — [Assign Mary a Login and Password]. When uploading creative assets to your various jobs, check the box beside Viewable to Vendor and indicate Mary Smith as the Vendor User(s); send e-mail notification, if desired. Any attachments, regardless of the Client folder, will be viewable to Mary when accessing the Client Interface.